Editor's note: If you're like me then you need something visual to really sway you, so feast your eyes on the colour of the gin! It looks fantastic and tastes even better. I've been bitten by the homebrewing bug in the past it's so satisfying brewing your own - the world is your lobster. You could add whatever you fancied to the base, from more traditional things like juniper berries to elderflower. rhubarb or cinnamon! The best bit is, even the concoctions that don't taste particularly amazing improve after a couple of glasses - or maybe spritzed?
Not in the back catalogue – the damson gin photos
As I said the thought of creating damson gin really appealed to H so I made sure he had everything to hand – here's the story so far :
.JPG)
Day
1
three ingredients, from the bottom up -
sugar, fruit and gin!
.JPG)
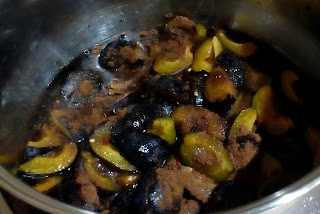
Day 2
a shake and you'll see already the colour
change – not very appealing I grant you but
hold that thought
.JPG)
Day 3
that's more like it – starting to look that
lovely ruby colour – you'll notice there are
two Kilner jars – we've already received an order!
The process was easy and H really enjoyed himself.
Watch this space, I'll keep you posted!